

Skill Level: Beginner
Tools & Supplies:
- DesignMate+ Membership
- SG1000 Printer
- 12" x 12" or larger flatbed heat press
- A3 sublimation paper
- Canvas Bag
- Lint Roller
- Heat-Resistant Tape
How to Create It:
- Log in to DesignMate and select "Launch DesignMate" on the Inspiration page.
- Select the Canvas Bag as your product. You can find it under Bags & Totes.
- In the "Create Your Design" panel, click Design.
- Go to the filter and select Summer. Then click apply.
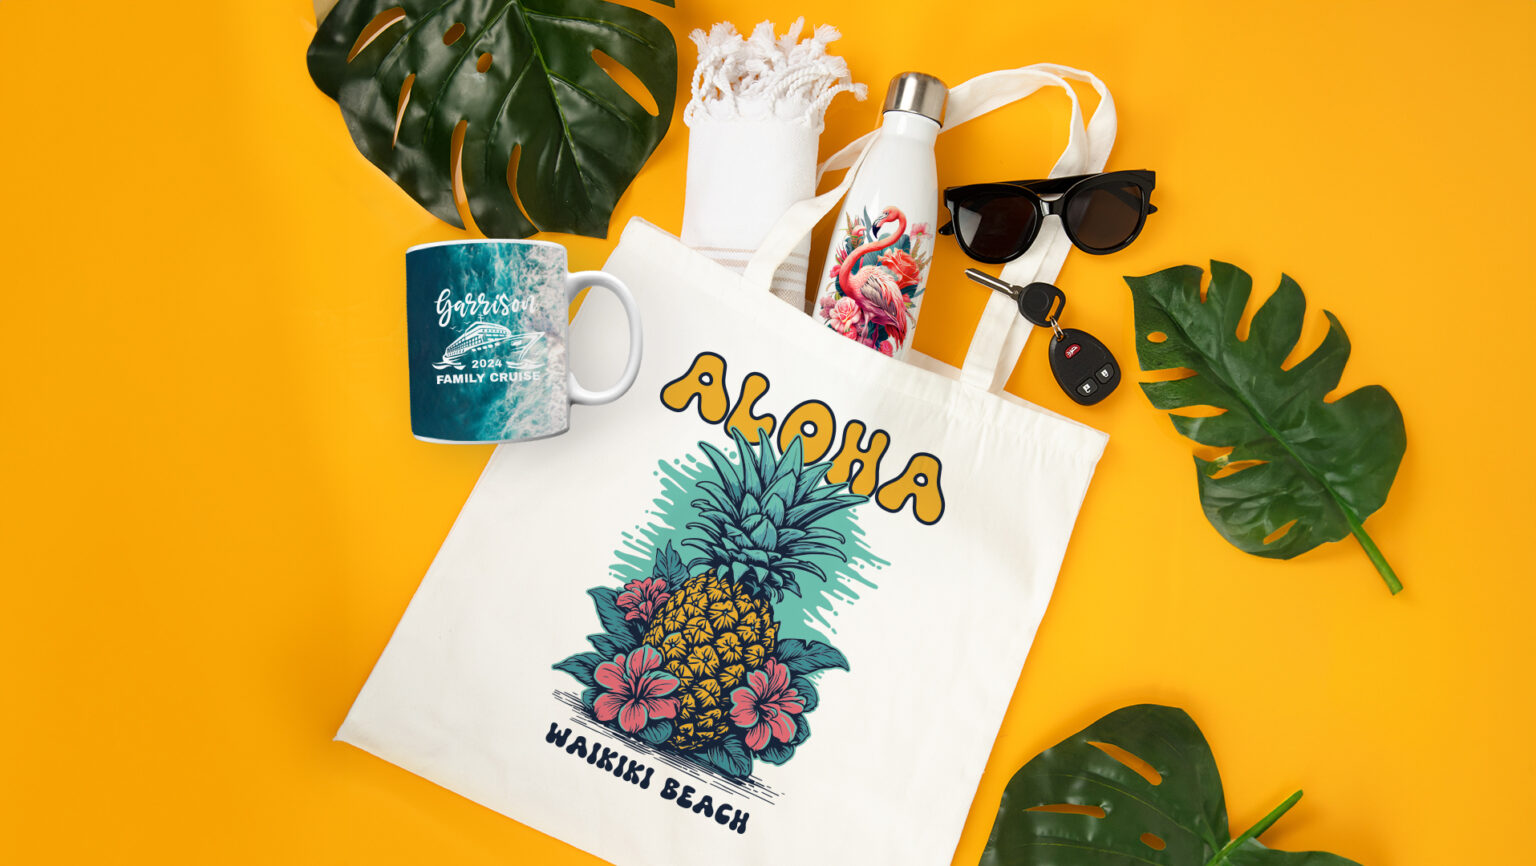
- Choose the Aloha design.
- Use your mouse to lasso around all parts of the image. Use the move and scale options to move and resize the image.
- To remove the background, click the trash can icon next to Background at the top of the screen.
- To make the background behind the pineapple stand out more, click on the pineapple.
- In the color panel on the left, click Ivory and change the Hex Code to #5DAAAE.
- When your design is ready, click the Print button and then select "Print File" on the Print Screen.
How to Print It:
- Make sure you see the pop-up to open PrintMate and click "Open PrintMate". If you do not see this, you need to disable your pop-up blocker.
- Start by scrolling down in PrintMate and make sure your print orientation is set to Portrait.
- Use the Canvas Bag preset for this project.
- Make sure the media size and type match what you have in the printer. On the Color Management tab, we recommend setting the Color Mode to Vibrant.
- Once you have confirmed all your settings, click Print.
How to Press It:
- Turn on your press and set the temperature to 193 degrees Celsius and the time to 45 seconds.
- Prepare your canvas bag by using a lint roller to remove dust or fibers.
- Tape your image onto the bag.
- Place the bag in the heat press and close it.
- Wait 45 seconds before opening the lid and removing the bag.
Tips & Tricks:
- Pressing pillows are great for items with zippers to keep them flat during pressing.
- We place a piece of parchment paper or baking paper in the bag to ensure the image does not bleed through.
- You can adapt this image to any paper and printer size, especially if you remove the background.
- For fabric items, it is a good idea to place your design in the center of the paper and then tear off the edges. This prevents a clear line from appearing on polyester items after pressing.